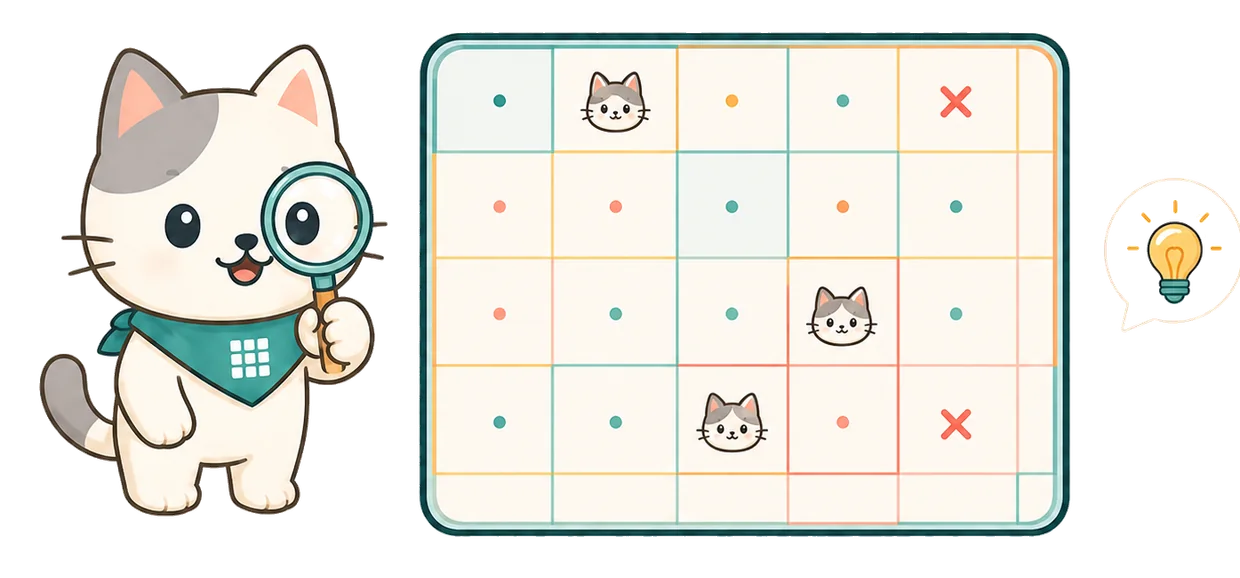
Use these positions to check the answer quickly before reading the logic.
B1
Row 1, Column 2
F2
Row 2, Column 6
H3
Row 3, Column 8
D4
Row 4, Column 4
I5
Row 5, Column 9
E6
Row 6, Column 5
G7
Row 7, Column 7
J8
Row 8, Column 10
C9
Row 9, Column 3
A10
Row 10, Column 1
Board does not match?
Use the screenshot solver for your exact puzzle.
App updates and level variations can show a different board under the same number. Upload your screenshot to detect its colored regions and starter cats, then request a hint or a complete step-by-step solve.
Add I5 while keeping J8 fixed; the board diagram now shows 2/10 cats.
Use this board diagram to confirm the cat at I5, row 5, column I. Keep the earlier cats at J8. This keeps the one-cat-per-row and one-cat-per-column rule intact.
Board state shows 2/10 cats placed.
I5 is the new cat for this step.
8 cats remain after this placement.
3
Step 3: Place the cat at G7
The board reaches 3/10 cats after the placement at G7.
Add G7 while keeping J8 and I5 fixed; the board diagram now shows 3/10 cats.
Use this board diagram to confirm the cat at G7, row 7, column G. Keep the earlier cats at J8, I5. This keeps the one-cat-per-row and one-cat-per-column rule intact.
Board state shows 3/10 cats placed.
G7 is the new cat for this step.
7 cats remain after this placement.
4
Step 4: Place the cat at C9
The board reaches 4/10 cats after the placement at C9.
Add C9 while keeping J8, I5, and G7 fixed; the board diagram now shows 4/10 cats.
Use this board diagram to confirm the cat at C9, row 9, column C. Keep the earlier cats at J8, I5, G7. This keeps the one-cat-per-row and one-cat-per-column rule intact.
Board state shows 4/10 cats placed.
C9 is the new cat for this step.
6 cats remain after this placement.
5
Step 5: Place the cat at E6
The board reaches 5/10 cats after the placement at E6.
Add E6 while keeping J8, I5, G7, and C9 fixed; the board diagram now shows 5/10 cats.
Use this board diagram to confirm the cat at E6, row 6, column E. Keep the earlier cats at J8, I5, G7, C9. This keeps the one-cat-per-row and one-cat-per-column rule intact.
Board state shows 5/10 cats placed.
E6 is the new cat for this step.
5 cats remain after this placement.
6
Step 6: Place the cat at F2
The board reaches 6/10 cats after the placement at F2.
Add F2 while keeping J8, I5, G7, C9, and E6 fixed; the board diagram now shows 6/10 cats.
Use this board diagram to confirm the cat at F2, row 2, column F. Keep the earlier cats at J8, I5, G7, C9, E6. This keeps the one-cat-per-row and one-cat-per-column rule intact.
Board state shows 6/10 cats placed.
F2 is the new cat for this step.
4 cats remain after this placement.
7
Step 7: Place the cat at H3
The board reaches 7/10 cats after the placement at H3.
Add H3 while keeping J8, I5, G7, C9, E6, and F2 fixed; the board diagram now shows 7/10 cats.
Use this board diagram to confirm the cat at H3, row 3, column H. Keep the earlier cats at J8, I5, G7, C9, E6, F2. This keeps the one-cat-per-row and one-cat-per-column rule intact.
Board state shows 7/10 cats placed.
H3 is the new cat for this step.
3 cats remain after this placement.
8
Step 8: Place the cat at D4
The board reaches 8/10 cats after the placement at D4.
Add D4 while keeping J8, I5, G7, C9, E6, F2, and H3 fixed; the board diagram now shows 8/10 cats.
Use this board diagram to confirm the cat at D4, row 4, column D. Keep the earlier cats at J8, I5, G7, C9, E6, F2, H3. This keeps the one-cat-per-row and one-cat-per-column rule intact.
Board state shows 8/10 cats placed.
D4 is the new cat for this step.
2 cats remain after this placement.
9
Step 9: Place the cat at B1
The board reaches 9/10 cats after the placement at B1.
Add B1 while keeping J8, I5, G7, C9, E6, F2, H3, and D4 fixed; the board diagram now shows 9/10 cats.
Use this board diagram to confirm the cat at B1, row 1, column B. Keep the earlier cats at J8, I5, G7, C9, E6, F2, H3, D4. This keeps the one-cat-per-row and one-cat-per-column rule intact.
Board state shows 9/10 cats placed.
B1 is the new cat for this step.
1 cat remains after this placement.
10
Step 10: Place the cat at A10
The board reaches 10/10 cats after the placement at A10.
Add A10 while keeping J8, I5, G7, C9, E6, F2, H3, D4, and B1 fixed; the board diagram now shows 10/10 cats.
Use this board diagram to confirm the cat at A10, row 10, column A. Keep the earlier cats at J8, I5, G7, C9, E6, F2, H3, D4, B1. This keeps the one-cat-per-row and one-cat-per-column rule intact.
Board state shows 10/10 cats placed.
A10 is the new cat for this step.
All 10 cats are now placed without sharing a row or column.
The completed Level 113 visual board: B1, F2, H3, D4, I5, E6, G7, J8, C9, and A10.
Logic recap
Why This Solves Level 113
The final placements (B1, F2, H3, D4, I5, E6, G7, J8, C9, A10) cover 10 rows and 10 columns exactly once. Each cat stays inside the 10x10 board and keeps the row, column, and no-touching rules intact.
Final check
Rows 1-10 each contain one cat.
Columns A-J each contain one cat.
No two final cats touch, including diagonally.
Ready to solve one yourself?
Practice Cat Logic Without Breaking Your Flow
Meowdoku blends Sudoku-style row and column logic with colored regions: place one cat in each region, and never let two cats share a row, share a column, or touch.
If ads or limited hearts interrupt your solving flow—or you simply want X marks and help tools close at hand—play the same style of cat logic on our original original practice boards.
The final cat positions are B1, F2, H3, D4, I5, E6, G7, J8, C9, A10.
How many cats are in Meowdoku Level 113?
Level 113 uses a 10x10 board, so the answer places 10 cats.
Do I need to watch the Level 113 video?
No. The written steps and board diagrams show the complete answer path. The video is only an optional reference.
Is this an official Meowdoku level guide?
No. This is an unofficial independent guide that explains the logic for players. It is not affiliated with the official Meowdoku app or its developers.