
Meowdoku unofficial guide and solver logo
Back to all levels

Unofficial step-by-step answer

Meowdoku Level 1 Answer

Final answer, four visual solving boards, and optional video help for Meowdoku Level 1.

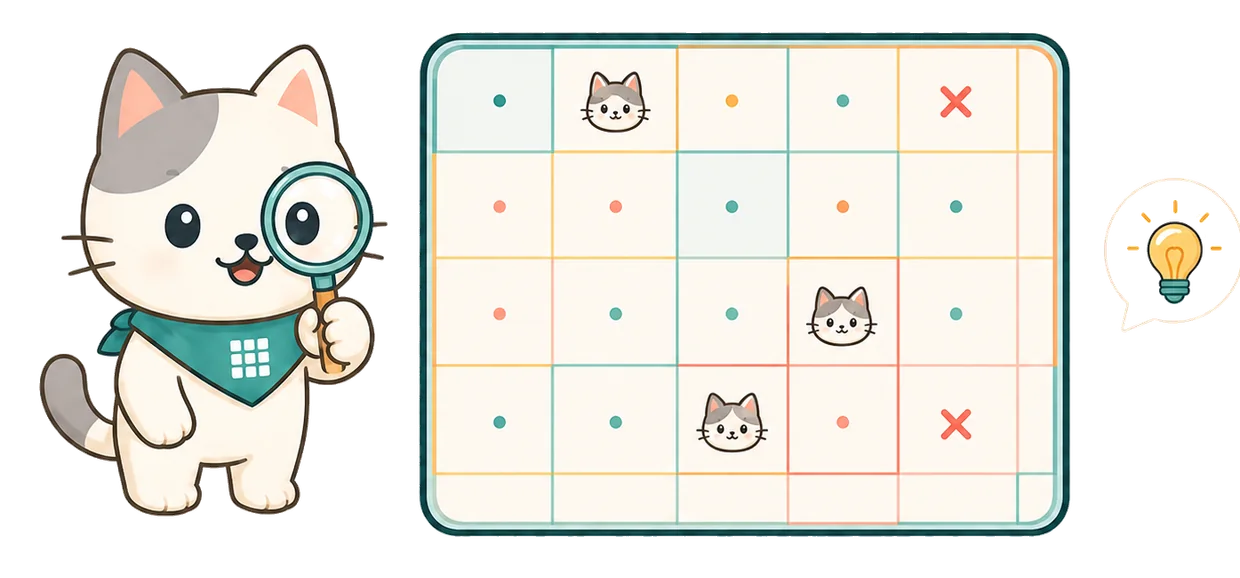
Original cat mascot checking a pastel Meowdoku answer board

Search another level

Jump directly without returning to the full directory.

Final Cat Positions

Use these positions to check the answer quickly before reading the logic.

C1

Row 1, Column 3

A2

Row 2, Column 1

D3

Row 3, Column 4

B4

Row 4, Column 2

Board does not match?

Use the screenshot solver for your exact puzzle.

App updates and level variations can show a different board under the same number. Upload your screenshot to detect its colored regions and starter cats, then request a hint or a complete step-by-step solve.

Open Screenshot Solver

Visible solving path

Every Step at a Glance

Each step pairs the written move with a visual board diagram, so the logic can be checked from coordinates without watching the video.

Board diagrams on this page are recreated by this site from answer coordinates and are not official app screenshots.

1

Step 1: Confirm the first cat at D3

The walkthrough starts with the purple-region cat already placed at D3.

Step board

Step 1 Board: D3

Guide diagram
Yellow regionGreen regionPink regionPurple region

Start from the confirmed D3 cat in the purple region.

In the first visual board, the puzzle shows 1/4 cats placed. The placed cat is in row 3, column 4, so use D3 as the first confirmed cat before solving the remaining rows and columns.

  • The progress counter shows 1/4 cats.
  • D3 is inside the purple region.
  • Rows 1, 2, and 4 still need cats.
2

Step 2: Place the second cat at C1

The green single-cell region is solved by placing a cat at C1.

Step board

Step 2 Board: C1

Guide diagram
Yellow regionGreen regionPink regionPurple region

Place C1, then mark C3 as blocked because column C is already used.

The second visual board shows 2/4 cats. A new cat is placed in the top row at C1, and the C3 cell is marked with an X because column C is no longer available.

  • The progress counter shows 2/4 cats.
  • C1 fills the green region.
  • C3 is marked X after column C is used.
3

Step 3: Place the third cat at A2

The pink single-cell region gives the next forced cat at A2.

Step board

Step 3 Board: A2

Guide diagram
Yellow regionGreen regionPink regionPurple region

A2 fills the one-cell pink region while the earlier cats remain fixed.

The third visual board shows 3/4 cats. The new cat appears in the pink region at row 2, column 1, leaving only row 4 without a cat.

  • The progress counter shows 3/4 cats.
  • A2 fills the pink region.
  • Rows 1, 2, and 3 now each have one cat.
4

Step 4: Finish the level with B4

The final visual board completes the puzzle with the last cat at B4.

Step board

Step 4 Board: B4

Guide diagram
Yellow regionGreen regionPink regionPurple region

B4 completes the last unused row and column without touching another cat.

The final solving board shows 4/4 cats. The last cat is placed at row 4, column 2, while D4 is marked X, so every row and every column now has exactly one cat.

  • The progress counter shows 4/4 cats.
  • B4 completes row 4.
  • D4 is marked X and the level is solved.

Final board

Level 1 Final Board

Guide diagram
Yellow regionGreen regionPink regionPurple region

The completed Level 1 visual board: C1, A2, D3, and B4.

Logic recap

Why This Solves Level 1

The final placements (C1, A2, D3, B4) cover 4 rows and 4 columns exactly once. Each cat stays inside the 4x4 board and keeps the row, column, and no-touching rules intact.

Final check

  • Rows 1-4 each contain one cat.
  • Columns A-D each contain one cat.
  • No two final cats touch, including diagonally.

Ready to solve one yourself?

Practice Cat Logic Without Breaking Your Flow

Meowdoku blends Sudoku-style row and column logic with colored regions: place one cat in each region, and never let two cats share a row, share a column, or touch.

If ads or limited hearts interrupt your solving flow—or you simply want X marks and help tools close at hand—play the same style of cat logic on our original original practice boards.

Play Original Practice Puzzles
  • No ads
  • No three-heart limit
  • X marks, Undo, Check & free hints

18 original beginner-to-hard boards. No account required. Not official Meowdoku levels.

Optional video

Video Walkthrough

Use the written steps and visual board diagrams first. Watch the video only if you want to compare the full solve.

Open on YouTube

YouTube video preview

Allow external media to play the video here, or open the walkthrough directly on YouTube.

Watch on YouTube

Source: Rock Gaming Channel - Duration 0:15 - Watch directly on YouTube

Level 1 FAQ

What is the Meowdoku Level 1 answer?

The final cat positions are C1, A2, D3, and B4.

Do I need to watch the video to solve Level 1?

No. The written steps and visual boards show the full solving path. The video is only an optional reference.

Is this an official Meowdoku level guide?

No. This is an unofficial independent guide that explains the logic for players. It is not affiliated with the official Meowdoku app or its developers.